
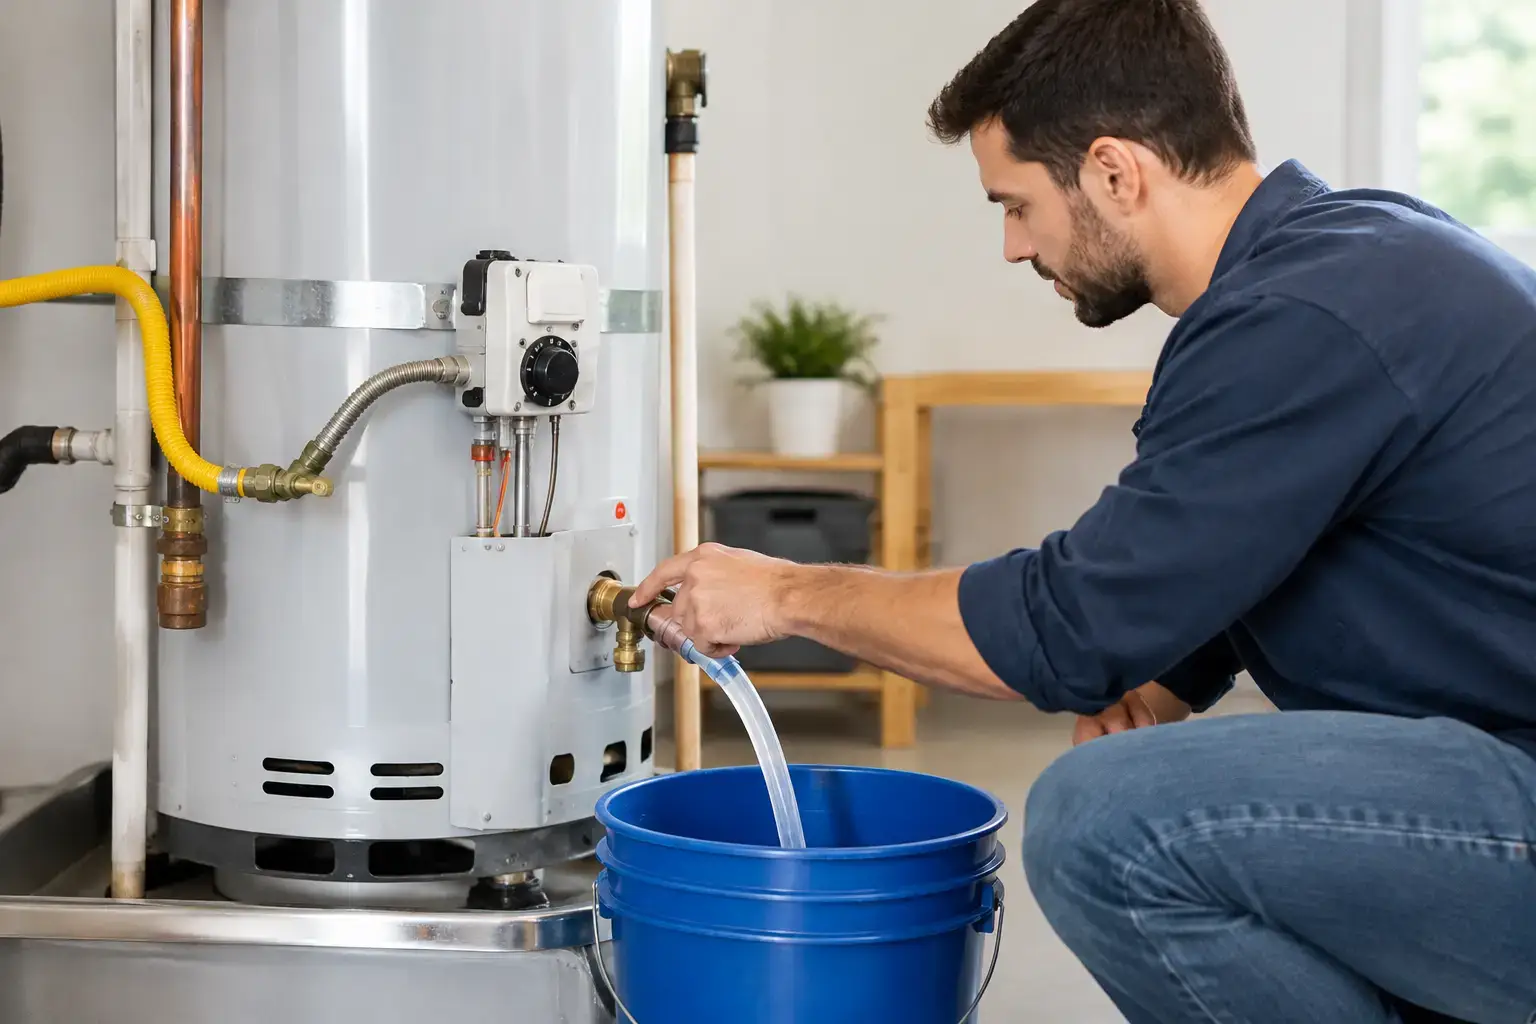
A water heater can keep producing hot water while sediment quietly builds at the bottom of its tank. That buildup can make the unit work harder, reduce available hot water, cause popping or rumbling sounds, and contribute to premature wear. Learning how to flush a water heater can help protect a conventional tank-style system, but only when the tank, drain valve, and shutoff connections are in good condition.
For many North Carolina homeowners, flushing is a practical maintenance task every year or two. The right interval depends on your water quality, household hot-water use, and the age and condition of the heater. If the tank has not been serviced in many years, though, opening its drain valve can sometimes reveal an existing problem rather than solve one. A careful approach matters.
Why flushing a water heater helps
Minerals naturally present in water settle to the bottom of a storage-tank water heater. Over time, that material forms a layer of sediment. Gas water heaters may make a popping or knocking noise as water becomes trapped beneath the sediment and heats up. Electric models can lose efficiency when sediment insulates the lower heating element.
A flush removes loose sediment and lets you check whether the drain valve flows properly. It will not repair corrosion, a failing heating element, a damaged dip tube, or a tank that is already leaking. Still, routine flushing can support more consistent performance and may reduce unnecessary strain on the system.
If your hot water looks rusty, the heater is leaking, or the water has a strong odor, do not assume a flush is the full answer. Those symptoms deserve a professional diagnosis before you proceed.
Before you flush a water heater
Start by identifying whether you have a gas or electric tank water heater. The basic flushing process is similar, but the shutdown steps differ. Gather a standard garden hose, a bucket if needed, gloves, and towels. You will also need a safe place for the water to drain, such as a floor drain, utility sink, driveway, or exterior area that can handle hot water and sediment.
Check the hose route before turning anything off. Avoid sending hot discharge across a walkway, onto delicate landscaping, or anywhere it could cause burns, erosion, or water damage. If your drain point is higher than the water heater or the hose must run uphill, the tank may not drain properly.
Do not begin if you see corrosion around the drain valve, active leaks, or signs that the water heater is near the end of its service life. Older plastic drain valves in particular can become brittle. A valve that breaks or will not close fully can turn a simple maintenance project into an urgent plumbing repair.
Turn off the energy source
For an electric water heater, switch off the dedicated breaker first. This step is essential. An exposed electric heating element can burn out quickly if the tank is drained while power remains on.
For a gas water heater, set the control to the lowest setting or the vacation setting. Follow the instructions printed on the unit. If you are unsure how to relight a pilot or operate the gas control safely, stop here and schedule service.
Let the water cool
Turn off the cold-water supply valve above the heater. Then open a hot-water faucet at a nearby sink or tub. This relieves pressure and helps air enter the plumbing as the tank drains.
Water inside the tank can be hot enough to cause serious burns. Giving it several hours to cool is the safest choice. If you need to complete the task sooner, use extra caution and keep children and pets away from the work area.
How to flush a water heater step by step
Attach the garden hose securely to the drain valve near the bottom of the tank. Place the other end at your chosen drainage location, making sure it will stay in place. Once the hose is connected, open the drain valve slowly.
At first, the water may run slowly or appear cloudy. Let it flow until the tank is empty. Keeping the hot-water faucet open should prevent a vacuum from forming and improve drainage.
When the flow slows to a trickle, briefly turn the cold-water supply back on while the drain valve and hose remain open. This creates a rinsing action that stirs up remaining loose sediment. Let the water run for several minutes, then turn the cold-water supply off again and allow the tank to drain.
Repeat this rinse once or twice if the discharge remains visibly cloudy. You do not need to chase perfectly clear water for an extended period. The goal is to remove loose material without placing unnecessary stress on old valves or connections.
If no water comes out after you open the drain valve, sediment may be blocking it. Do not force the valve, poke objects into it, or apply excessive pressure. A blocked drain valve is a good reason to call a licensed plumber, especially if the water heater is older or the valve shows corrosion.
Refill the tank completely
Close the drain valve firmly, but do not overtighten it. Remove the hose and turn the cold-water supply back on. Leave the hot-water faucet open while the tank refills. At first, the faucet may sputter as air moves through the lines.
When water flows in a steady stream without air, close the faucet. Check the drain valve and surrounding connections for leaks. Give the tank time to fill completely before restoring power to an electric model. Turning the breaker on before the tank is full can damage the heating elements.
For a gas model, return the control to its normal setting according to the manufacturer instructions. It may take some time for the burner to heat a full tank of water again.
How often should you flush a water heater?
For many homes, flushing a tank water heater about once a year is a reasonable starting point. Homes with harder water, private well water, or high hot-water demand may benefit from more frequent service. A household with lower usage and little visible sediment may be fine with a longer interval.
The age of the heater changes the decision. If a tank has gone many years without maintenance, a professional inspection is often smarter than attempting a first flush on your own. Sediment can conceal deterioration, and disturbing an old drain valve may lead to a leak that was not apparent before.
A plumber can assess the unit’s condition, flush it safely when appropriate, inspect the temperature and pressure relief valve, and identify concerns such as corrosion, weak water pressure, or signs of tank failure.
When to call a plumber instead
A water heater flush is not the right DIY project when the system is already showing warning signs. Contact a professional if the tank leaks, the drain valve will not open or close, the water is discolored, the unit makes loud persistent noises, or your hot-water supply has dropped suddenly.
You should also call for help if a gas water heater has ignition issues, if you smell gas, or if you are not comfortable shutting down and restarting the unit. Gas appliances and pressurized hot-water systems deserve careful handling.
Delta Heating, Cooling & Plumbing can help homeowners in the Raleigh area determine whether flushing, repair, or replacement is the right next step. A clear diagnosis can prevent you from spending time on maintenance that will not solve the actual problem.
A properly maintained water heater is easier to rely on when mornings are busy and the household needs hot water without interruption. If a flush feels straightforward and the system is in good condition, take your time and follow each safety step. If anything looks questionable, getting professional help early is the better way to protect your home and your hot-water supply.