
10 Easy Steps to Change a Home Thermostat
Heating and cooling your home accounts for half of the energy that it uses to keep you cool in the summer and warm in the winter. Your thermostat has a big effect relating to your HVAC systems efficiency. Replacing your current thermostat with a programmable unit will give you a great deal of control over your system, enabling you to run your system only when the house is occupied, thus lowering your monthly power bill. If you are handy, you can change a home thermostat in just a few minutes.
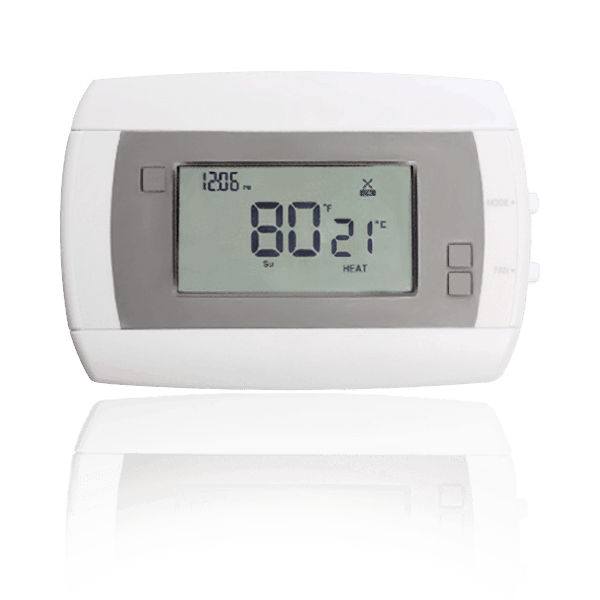
How to Change a Home Thermostat
Before taking any of the following steps to change a home thermostat, make sure that the replacement is the right thermostat for your unit. Do you have the right thermostat for your heating and air unit? Thermostats are not one size fits all and for custom systems, finding the proper thermostat may require a special order, so don’t overlook this step. This is a very important detail and if you have, any doubts at all, about what you are doing, you need to call a professional.
Now that you have your replacement thermostat, let’s get it changed!
Step 1. Disconnect the power source to the heating and air unit.
Step 2. READ the directions that came with your new thermostat. We all know that this step can be a pain but believe me, it is important.
Step 3. Remove the old thermostat including the wall plate.
Step 4. DO NOT disconnect the wires until you have secured and labeled them.
- If the wires fall into the wall, a thirty-minute job may become an all day ordeal.
- Wrap the wires with tape and stick them to the wall or find some other clever means to keep them from falling into the wall.
- If the wire ends, leading in from the wall are corroded, clean them before wiring your new home thermostat. Some thermostats only have two wires while others have up to five.
- Again, if you question your ability call a professional, otherwise your endeavor to save money or replace a faulty unit can be more costly than a service call if your system is not working properly due to an improperly installed thermostat.
Step 5. Install the replacement wall plate.
Step 6. Wire the new thermostat according to the directions that came with the unit.
Step 7. Mount the new home thermostat on its wall bracket.
Step 8. Turn the power to your heating and air system back on.
Step 9. Test the new thermostat to make sure it is working. Check its performance in both heating and cooling modes but give it at least five minutes between cycles when testing.
Step 10. If your new thermostat is programmable, you need to program it to cycle at the times that you select. This information should be in the instructions that came with your thermostat.
Conclusion
Whether you are replacing a faulty thermostat or upgrading to a programmable unit, a thermostat that is operating properly can save you money in the end. If you opt for a programmable unit, you will have even more flexibility in spending your monthly energy dollars. The ability to change your own thermostat further adds to that savings but if you lack the skill or confidence to take on this project yourself the professionals at Delta Heating, Cooling & Plumbing will be glad to help you save your energy dollars.